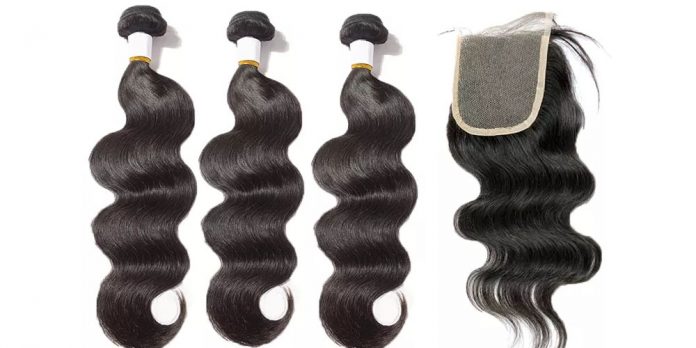
Bundles with closure have recently become one of the most popular types of hairpieces. This is because they are highly advantageous. For instance, they are easy to maintain and install. This write-up focuses on lace closure installation and everything you need to know about it.
How to install lace closures
There are two installation processes you can use for lace closures. The following is a guide on how to conduct each of them:
1. Glue in installation
This is the most common installation method for lace closures. Its popularity is because it helps achieve a perfect and sturdy closure. Using this method helps make the lace closure edges look undetectable and more natural.
How to glue in lace closures
Before you start the fixing procedure, you must purchase a suitable adhesive. You must also make certain that you do not use any styling products or oil on your hair. This is to ensure that the adhesive bond is tighter.
- The first thing you must do is clean the skin before your natural hairline. This is the part of your head or face where the adhesive will go. Therefore, cleaning it helps ensure that it is clean and smooth.
- The next step is to position your lace closure. It would help if you first located your hairline then put the hairpiece back to your hairline.
- Afterward, you have to cut the unnecessary lace. While doing this, you should ensure not to cut it all as it would destroy the entire hairpiece.
- Next, you must apply a scalp protector to your forehead and neck. Add the protector under your hairline as well. Doing this will protect your scalp and ensure that the closure achieves maximum bond.
- Apply the glue along with the areas with the scalp protector, then use a blow-dryer to dry the glue for about thirty seconds. This will ensure better adhesion.
- Press down the lace at the front of your hairline and maintain the pressure for about a minute. This will ensure that the lace is attached to the scalp firmly.
Lastly, you will need a remover, alcohol, or water to dissolve the glue to remove a glued-in lace closure. The process is more straightforward than most people assume.
2. Sew in installation
This installation method is more complex than the latter. Therefore, it requires professional handling. It is also quite costly, but the results are breathtaking. This technique is more durable, and it can stay in place for up to two months. It is also easier to maintain.
How to sew in lace closures
Before starting the process, you must ensure that your hair and scalp are clean.
- Start by applying a lace cap
- Conrow your hair and cover the top of your head with a hairnet. It would be wise to match the net color with your hair for better blending.
- Using a weaving needle, perform whip stitches on the net to the edges of the cornrows. Do this from the end to the front.
- Once you are done, you can cut and tie the thread and the excess netting.
Conclusion
Note that the method of installation you apply will influence the aesthetic appeal of the lace closure. It will also affect the durability and ease of maintenance of the lace closure. Therefore, you must be wise when choosing the best technique.


